Gradient Anti-Slip Bar Tape: EVA Comfort & Secure Grip
Gradient Anti-Slip Bike Handlebar Tape with EVA Comfort Grip
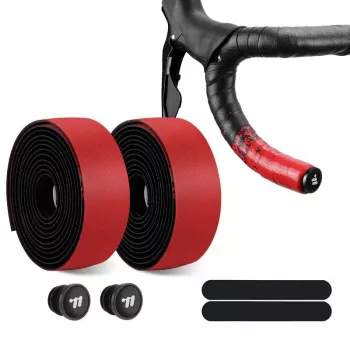
A secure, comfortable handlebar wrap can reduce hand fatigue, improve control in wet or sweaty conditions, and refresh the look of a bike in minutes. This gradient anti-slip bar tape combines a tacky surface with an EVA comfort layer for a cushioned feel, plus the finishing pieces needed for a clean, stable wrap. Whether the goal is a steadier hold on the hoods, less road buzz on rough pavement, or a cockpit update that stands out, the right tape setup can make a noticeable difference from the first ride. For more guidance, see [PDF] On your back – European Human Powered Vehicle Association.
What Makes This Bar Tape Feel Secure and Comfortable
Handlebar tape does more than change how the bike looks—it changes how the bike feels in your hands. This style of wrap focuses on dependable traction plus a softer interface between your palms and the bar. For further reading, see [PDF] Risk and Exploration – Ames Research Center Archives.
- Anti-slip surface texture: A tacky, high-friction finish helps maintain grip when hands are sweaty, when riding in light rain, or when wearing gloves. This can be especially useful during climbs and sprints when your grip pressure tends to increase.
- EVA comfort layer: The EVA cushioning helps mute vibration from chipseal, rough pavement, and hard-packed gravel—reducing palm pressure and making longer rides feel smoother.
- Gradient styling: The gradient pattern adds a modern, personalized look to the cockpit while still keeping a practical surface feel where hands rest most (tops, hoods, and drops).
- Adhesive backing: Typical bar-tape adhesive helps prevent the wrap from creeping as you reposition frequently, making the finish more stable over time.
Fit and Compatibility Checklist
Most bar tape is designed around common road/gravel setups, but it can be adapted for other bars with careful trimming and planning.
- Handlebar type: Works best for drop bars and can also be adapted to flat or riser bars when cut and wrapped appropriately.
- Bar diameter: Most road and gravel drop bars share common clamp diameters; tape is generally sized to wrap the grip areas regardless of clamp size.
- Riding style: Useful for road, gravel, commuting, and indoor training where consistent grip and comfort matter.
- Glove/no-glove use: Tacky anti-slip finishes are especially helpful for riders who ride without gloves or use thin summer gloves.
Quick Compatibility Check
| Bike setup | Works well when | Notes |
|---|---|---|
| Drop bar (road/gravel) | Wrapping from bar end to hoods with overlap | Use short strips behind the brake hoods for full coverage |
| Flat / riser bar | Cut to length and wrap grip zones | Leave room for shifters, brake clamps, and grips if present |
| Indoor trainer bike | Sweat-prone sessions | Pair with regular wipe-downs to keep tackiness consistent |
| Wet-weather commuting | Hands often reposition on tops/hoods | Focus overlap and tension on primary contact zones |
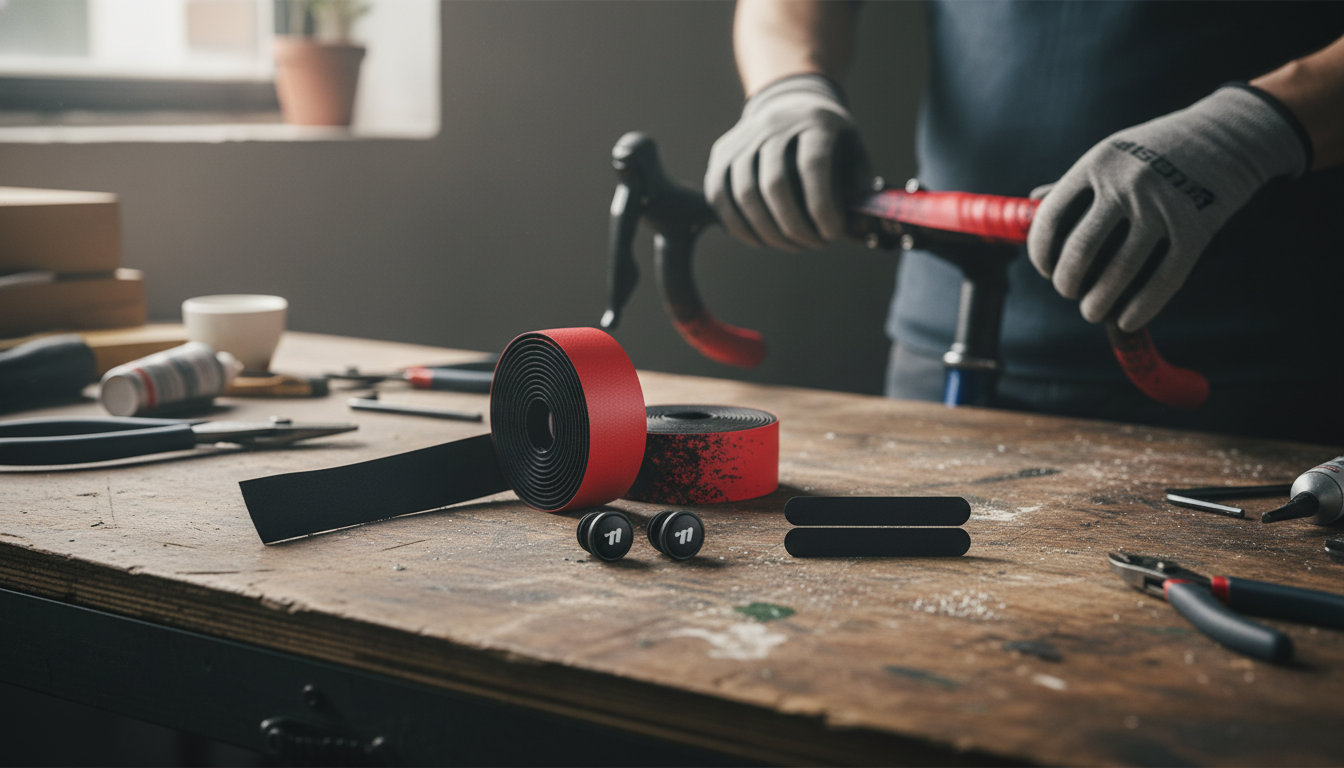
How to Wrap It for a Clean Finish
A good install is mostly about prep, consistency, and patience. If it’s your first time, it helps to watch a proven method and then take it slow on the hood area.
- Prep the bar: Remove old tape, clean adhesive residue, and wipe the bar so the backing adheres evenly. A clean surface reduces edge lift later.
- Plan overlap: A consistent overlap (often about 1/3 of the tape width) balances cushioning and coverage without bulky ridges.
- Set tension: Pull firmly enough to eliminate gaps and wrinkles, but avoid overstretching, which can thin the cushioning and distort the gradient pattern.
- Hood area: Use the included finishing strips (or a figure-eight method, depending on preference) to cover clamp gaps around brake levers so there are no exposed bar sections.
- Lock the ends: Secure with finishing tape and insert bar-end plugs to prevent unraveling, especially if you frequently pull on the drops when sprinting or climbing.
For visual step-by-step reference on drop-bar technique, see Park Tool — How to Wrap Handlebar Tape and the practical tips collected at Sheldon Brown — Handlebar Tape (tips and methods).
Choosing the Right Feel: Cushion, Grip, and Temperature
Care and Longevity Tips
What’s Included and What to Confirm Before Ordering
Pre-Install Checklist
| Item to check | Why it matters | Quick tip |
|---|---|---|
| Number of rolls | Ensures full wrap coverage | Two rolls typically cover standard drop bars |
| Finishing tape | Prevents unraveling at the top | Wrap tightly and finish on the underside near the stem |
| Bar-end plugs | Locks the tape at the ends and protects the bar | Insert firmly; trim tape cleanly before plugging |
| Cleaning supplies | Improves adhesion and finish | Use mild soap and water; dry completely before wrapping |
More In-Stock Finds
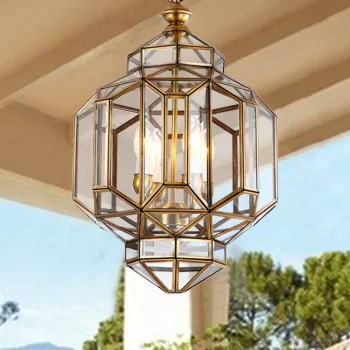
- Vintage Glass Pendant Light with LED Compatibility for Indoor and Outdoor Spaces
- Simple Daily Rituals to Soothe Your Mind – Digital Guide for Simple Rituals to Calm My Mind Daily, Stress Relief, Mindfulness Routine & Mental Clarity
- Solo Traveler’s Guide to Staying Safe | Guide | Digital Download PDF eBook | Solo Travel Safety Tips & Checklist | Travel Security Planning
FAQ
Will EVA handlebar tape reduce hand numbness?
EVA cushioning can reduce vibration and soften pressure points, which may help with numbness on longer rides. Fit still matters—hood position, saddle setup, glove choice, and how tightly you grip all play a role—so adjusting tape overlap for more padding can be a practical first step.
How do you keep handlebar tape from slipping or unraveling?
Start with a clean bar, maintain consistent overlap and firm (not excessive) tension, and finish with tight finishing tape plus properly seated bar-end plugs. If the top edge begins to lift, re-secure that section early rather than waiting for a full unravel.
Can this tape be used on flat handlebars?
Yes—cut it to length and wrap only the grip zones while leaving space for shifters, brake clamps, and any existing grips. Some riders still prefer dedicated slip-on grips for flat bars, but wrap tape can work well for a tailored feel and added cushioning.


Leave a comment