Airless Spray Gun Hose Kit + Extension Rod: Setup Guide
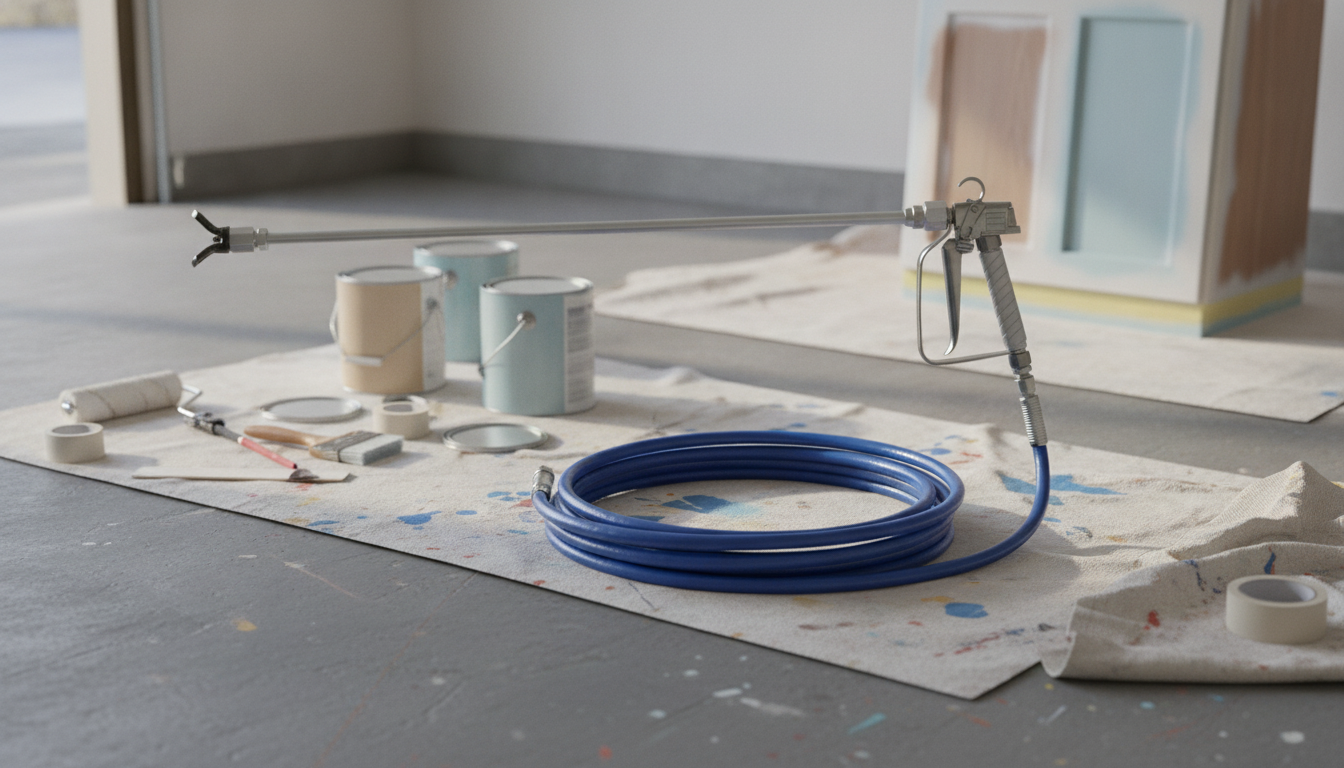
A high-pressure airless setup can cut down brush marks, speed up large projects, and make it easier to maintain consistent coverage across walls, fences, ceilings, and trim. A kit that includes a spray gun, hose, and extension rod adds convenience by reducing fatigue and limiting ladder repositioning—especially on overhead areas and tall surfaces. This guide breaks down what the kit does, where it shines, how to set it up, and how to use it safely for smoother results.
What this kit includes and what each part does
Airless components work as a system: the pump pressurizes the coating, the hose delivers it, and the gun and tip control how it lands on the surface. When the kit also includes an extension rod, it adds reach and stability for ceilings and tall areas.
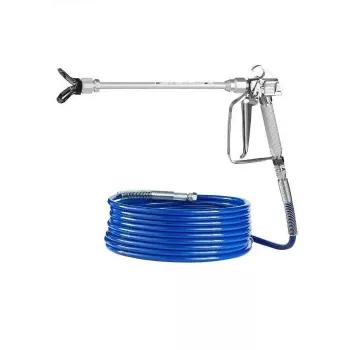
- Airless spray gun: The hand tool that controls flow, supports a spray tip (tip type/size determines fan width and paint volume), and typically includes a trigger with a safety lock.
- High-pressure hose: Carries coating from the pump to the gun; longer hoses improve mobility but can increase pressure drop, so correct pump pressure matters.
- Extension rod: Adds reach for ceilings, soffits, high walls, and decks without constantly climbing or stretching; helps keep a steadier wrist angle for more even passes.
- Common fittings: Many airless components use standardized threads (often 1/4″ NPSM on spray tips/guards and 1/4″ NPT on some hose/pump connections), but compatibility should be confirmed with the sprayer/pump being used.
Where an extension rod makes the biggest difference
An extension rod can feel like a small add-on until you tackle overhead work or long runs. The main advantage is keeping the fan distance and angle consistent—two factors that strongly influence finish quality.
- Ceilings and overhead priming: Increases reach while keeping the gun at a consistent distance, reducing heavy “hot spots” where overspray builds up.
- Stairwells and tall walls: Fewer ladder moves; better line control along corners when paired with a controlled spray angle and masking.
- Deck rails, fences, and exterior siding: Helps maintain a uniform fan pattern across long runs, especially when moving laterally.
- Cabinets and trim (select situations): Useful for consistent passes, but smaller tips and lower pressure are typically needed to avoid bouncing paint and overspray; masking and ventilation become more critical.
- High or awkward angles (soffits, eaves): Safer posture and less shoulder fatigue compared to reaching with a short gun body.
Key compatibility checks before buying or connecting
Airless systems are pressure-driven, so compatibility isn’t just about “will it screw together.” Confirm ratings and fit so you don’t end up with leaks, poor atomization, or unsafe operating conditions.
- Pump requirements: Airless guns and hoses must be used with a compatible airless sprayer/pump rated for the pressures involved; confirm maximum working pressure for every component (hose, gun, fittings).
- Thread and fitting type: Verify hose ends, gun inlet, and extension connections match; if adapters are used, ensure they are pressure-rated and properly sealed.
- Tip/guard standard: Confirm the gun accepts common airless tip guards and reversible tips; this impacts availability of replacement tips and ease of clearing clogs.
- Hose length and diameter: Longer hoses can require higher pressure settings; too small a diameter can restrict flow with thicker materials.
- Material type: Thicker coatings (some primers, exterior paints, elastomerics) often need larger tip sizes; make sure the pump can supply the needed flow.
Setup and first-time use: a practical flow that prevents leaks and clogs
A clean, methodical setup reduces troubleshooting later. The goal is to keep debris out of the tip, ensure seals are seated, and dial in the lowest effective pressure for the coating and tip.
Technique tips for smoother coverage with less overspray
Quick technique checklist (spray quality vs. common symptoms)
| What you see | Likely cause | What to adjust |
|---|---|---|
| Tails at the edges of the fan | Pressure too low or tip worn/clogging | Increase pressure slightly; clean or replace tip |
| Heavy center, runs/sags | Moving too slowly or too close | Speed up; increase distance slightly; reduce pressure |
| Spitting or inconsistent flow | Air in line, clogged filter, loose fitting | Re-prime; clean filters; tighten fittings |
| Excessive mist/overspray | Pressure too high or tip too large | Lower pressure; choose a smaller tip; improve masking/containment |
| Striping/lap marks | Uneven overlap or inconsistent distance | Maintain 50% overlap; keep constant distance and speed |
Cleaning, maintenance, and storage to extend service life
Safety essentials for high-pressure spraying
For additional safety guidance, review OSHA’s spray painting hazards and controls, the EPA’s Lead Renovation, Repair and Painting (RRP) program, and NIOSH respirator resources.
Products in stock
- High Pressure Airless Paint Spray Gun & Hose Kit with Extension Rod ($54.51)
- Vintage Glass Pendant Light with LED Compatibility for Indoor and Outdoor Spaces ($719.49)
FAQ
Will this spray gun, hose, and extension rod work with any airless sprayer?
Compatibility depends on your sprayer’s maximum pressure rating, the thread types on the hose/gun/extension connections, and whether the gun accepts common tip guards and reversible tips. Check your sprayer manual and match both pressure ratings and fitting specifications before connecting.
How long of an extension rod should be used for ceilings and tall walls?
Choose a length that lets you keep the spray fan perpendicular at a steady distance (often around 10–12 inches) without overreaching. Longer rods reduce ladder moves, but if they add too much wrist torque or feel hard to control, a shorter rod can produce cleaner, more consistent passes.
What causes an airless spray pattern to have ‘tails’ on the edges?
Tails usually come from pressure that’s too low, a worn or partially clogged tip, paint that’s too thick, or restricted filters. Increase pressure slightly, clean or replace the tip, confirm filters are clean, and thin only if the coating manufacturer allows it.












Leave a comment